The first stage of the process was to download the images to a new folder on my computer desk-top, by selecting all of the images within the folder and touching the space bar I could view an index sheet and take a closer look at each individual image approx.150.
 |
contact sheet
Once I had taken a look at all the images within the folder I started the selection process, I wanted to select pictures which would convey Pollys personality, 24 images were chosen. For the next stage I opened Photoshop and used the Automate feature to create a contact sheet, once I had this file I could either print it off and mark-up the sheet in a traditional way or I could view the same file on the computer and mark-up each individual image as to how it might be cropped, I could also look at how these images might work as a complete presentation, various crop boxes were overlayed, positioned and re-positioned until I felt that I new which images would work best together for my final image choice and how they would be cropped. |
I had decided to present the images in a square format, to achieve this I would have to open each of my selected images in photoshop, the first part of the process was to crop the image to the required composition, I would then unlock the background layer and make sure that the canvas size was 300mm square, the image would be either enlarged or reduced to fit the canvas the image was then flattened and save.
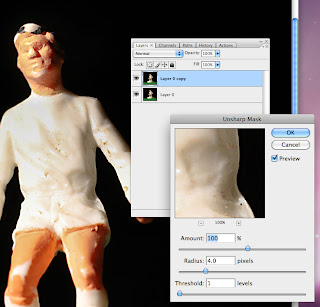
The next stage of the process was for the background layer to be duplicated and an unsharp filter applied to the top layer, depending on the image and how the filter looked the top layers opacity is reduced for a natural look, the two layers are then merged and reduced to 97%, to create the border a new layer was added and positioned at the bottom of the file and a black fill was applied, these layers are then merged and reduced to 95%, a second new layer was then added with a white fill and positioned below the image layer and the file was flattened, the final part of the process was to reduce the image file size to 250 mm square at 240 dpi, this process was applied to all 10 of my chosen images.
The final part of the assignment would be to present the images together as a collection, this might be done as a printed booklet, it might be as a set of individual art prints presented in a traditional portfolio case or even as a single canvas with all the images shown together each of these options might prove expensive depending on the chosen supplier and the quality of materials used.
Another way to present the final images would be to use an online gallery sources such as Flickr or Blogger, with both of these options the gallery would be ready to view worldwide as soon as the images had been uploaded and published, this option would be very cost effective as it is free to most users at the moment, to support this option an email link could be mailed out to various contacts world wide informing them of the new online portfolio.
 |
| bored now... |


