Combining images, use of Masking and cropping
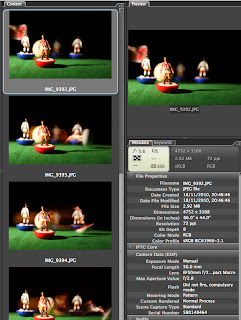 |
| original images being processed |
The first part of the process was to select images that I felt worked well together, what I was hoping to show was movement of a small subbuteo player accross the playing cloth.
I opened my chosen three images separately in photoshop and then I transfered two of the images to image 9394, this created a layered file ready for the next stage. I had chosen to use image 9394 for my background base layer because I felt the players positions would work the best in this montage file.
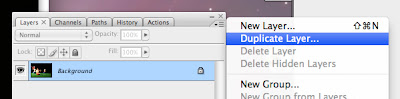 |
| fig.1 |
The other images were opened and in Layers palette window (fig.1), I duplicate each image and save it back to the 9394 file as separate layers, this gave me three individual layers to work with, once I was happy with the position of these two new layers I then applied a Layer mask, I did this task by clicking on Layer from the main menu bar (fig.2), scrolling down to the Layer Mask option and in the sub-window selecting Reveal All, a mask is then applied to the highlighted layer ready to be worked on.
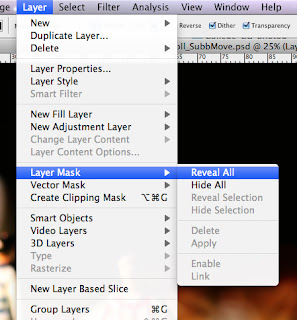 |
| fig.2 |
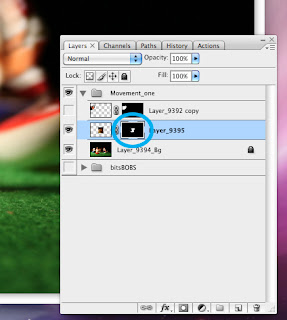 |
| fig.3 |
By clicking the layer mask thumbnail in the Layers palette (fig.3) makes the mask active, a border appears around the mask thumbnail which shows it is ready for use. With the use of brushes and working on the mask overlay the image detail which is not require is painted away by using the black colour, this hides the image and the layers below become visible, to subtract from the mask and reveal the layer, paint the mask with white, fig.4 shows how much area has been covered to hide detail, this visual option is found in the channels pallet and can be turned on or off.
 |
| fig.4 |
Once the above had been completed for both layers and saved the final part of the process was to crop the image. By clicking on the rule margins and dragging (top and left of the image), none-print guides can be positioned and moved over the image, once I am happy with image proportions the Crop Tool is selected from the Tool bar.
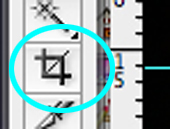 |
| fig.5 |
Using the Crop Tool (fig.5) and by dragging over the part of the image you want to keep creates a marquee, this marquee doesn’t have to be precise as you can adjust the proportion by use of small handels on each side of the marquee box, once you are happy with the result a double click and the image is cropped to the new size, all that is required now is to re-name, choose the file format and save.


Hi
ReplyDeleteA very detailed insight into the methods you used with these images. This really is of a high standard. You have this area of your work covered, now you need to concentrate on identifying the right criteria to fit each blog to help raise your grade in other areas.
Steve