Black and White conversion
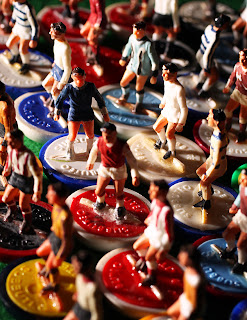 |
| cropped original colour image |
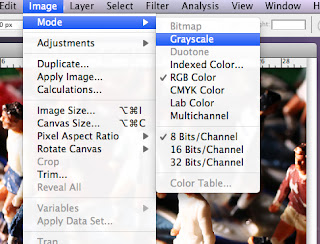
To convert a colour image in Photoshop to Black & White there are a few different ways for this task to be completed, the quickest and simplest way to convert an image is to change the colour mode to Grayscale, this way of converting the image discards the colour from the image coupeletly and cannot be reversed once the file has been saved.
 |
| fig.1 |
To change the colour image to grayscale (fig.1) we need to alter the colour Mode, this can be found on the header bar under the Image heading, once the image has been converted to grayscale it can be worked on further in Photoshop by using various filters, layers and any number of combinations.
 |
| fig.2 |
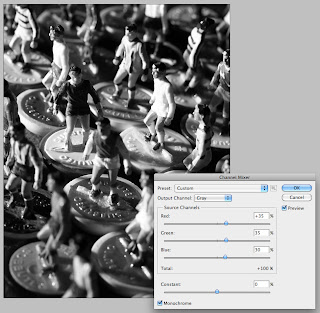
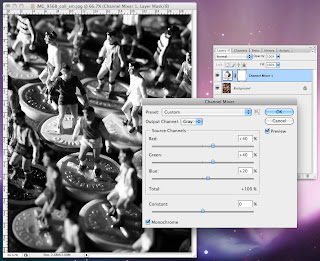
The second possible option is the Chanel Mixer (fig.2), this is found via the Image header under the Adjustments sub-window. With this option you click the Monochrome button first and then you use the RGB slide bars to control the look of the image, the source chanels should make up a total score of 100 for the best result, once you are happy with your image you click OK and a chanel mixer layer is located above the original image, this way of working allows you to retain the colour image within the PSD file.
 |
| fig.3 |
 |
| fig.4 |
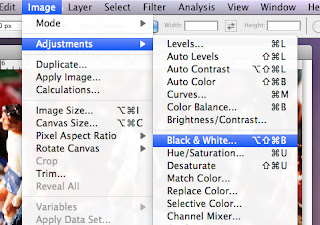
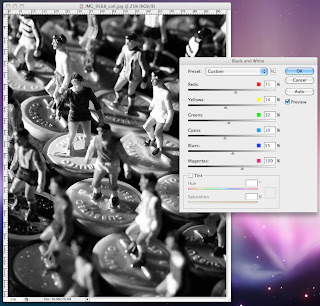
For the third convertion (fig 3.) you could use the Black and White layer option, this option is also found under Image heading scrolling down to Adjustments and in the sub-window you can select Black and White..., this option automatically converts the image to grayscale, providing you with 6 slide bars to alter the image (fig.4), giving you good control on the final output, also with this option you have some saved Prests which can be used as a starting point to manipulate the image. The final tool within this option is the Tint tool, by using this option you can convert the image to a single colour image.
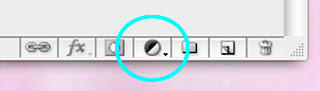 |
| fig.5 |
An alternative working method is to use a layer mask, by clicking on the Create new fill or adjustment layer button (fig.5) found at the bottom of the Layers pallet, an adjustment mask is positioned above the colour image, this works for both the Chanel Mixer and the Black and White layer option.
 |
| fig.6 |
By using this method the original image can be worked on in the grayscale mode without the loss of colour to the original base layer image, by clicking on the mask layer you open up the mixer window (fig.6) this is where the image can be manipulated, once you are happy with the image it can be re-named and saved as a PSD, saving the image as a PSD file allows you to re-open the file and make as many changes and tweaks as you require in the future.


Why did you choose this particular image to transform into black and white as opposed to others you have taken?
ReplyDeleteI chose this image because of the colour spectrum within all the teams kits, it was very interesting to try and balance each colour, as one visually looked okay another one either went to dark or lost all detail.
ReplyDelete